Setting up Eventbrite with Pie Calendar Connector for WordPress
Pie Calendar Connector's integration with Eventbrite is full-featured, pulling Eventbrite events into your database via the API provided by Eventbrite. It also synchronizes changes via Eventbrite's webhooks, so after the initial setup, your events will stay synchronized automatically.
Initial Setup
Getting your Eventbrite API key
- First, log in to Eventbrite and navigate to Account Settings via the menu at the top right of the page.
- On the left-hand side of the Account Settings page, expand the "Developer Links" area and click "API Keys."
- Click "Create API Key" and enter all of the requested details.
- Once completed, you will be given an API key, a client secret, a private token, and a public token. Copy the private token, this is the only one we need.
Adding your API key and organization to Pie Calendar Connector
- Navigate to your WordPress admin panel.
- Go to Settings > Pie Calendar Connector.
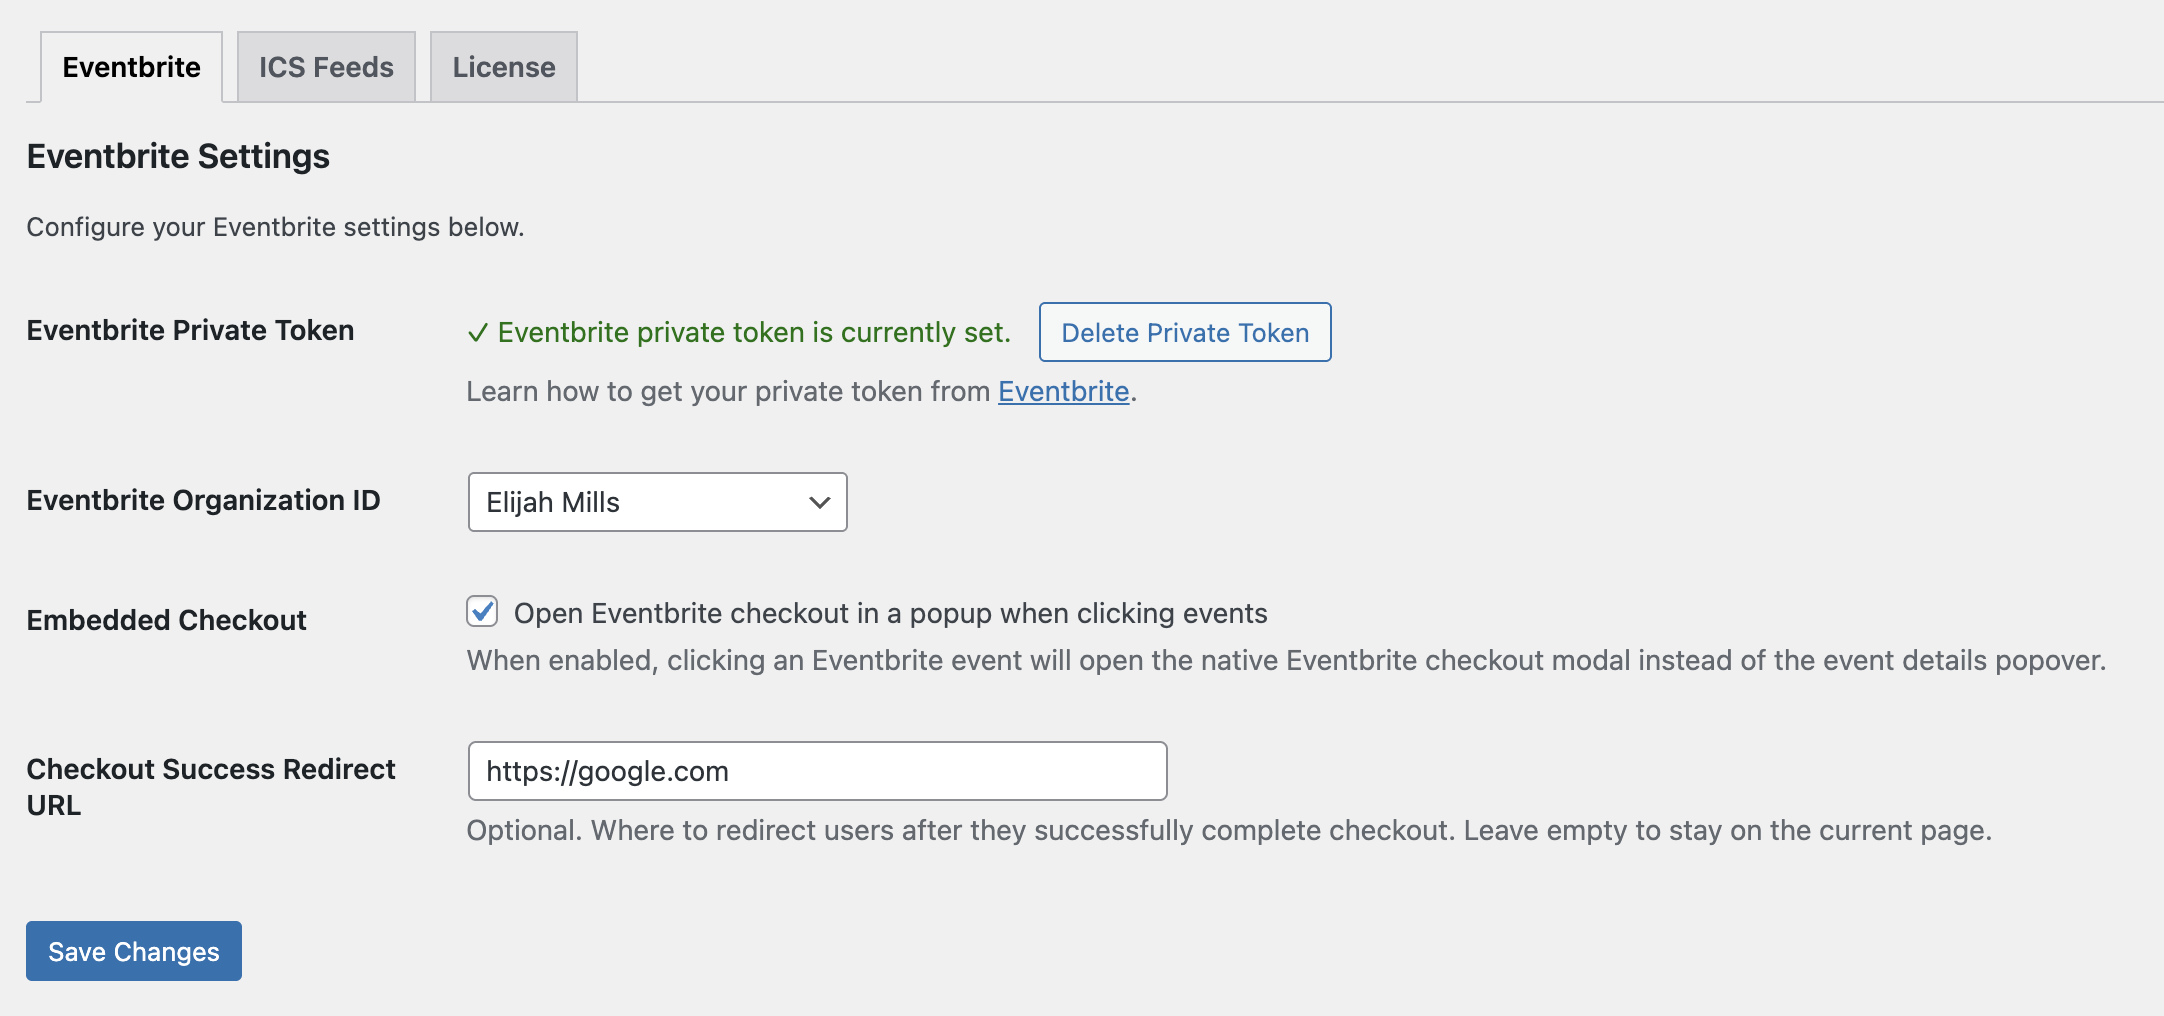
- Enter your private token in the provided field and click "save changes."
- Once the page refreshes, use the "Eventbrite Organization ID" dropdown to choose your organization. For most Eventbrite accounts, there will be only one option.
- Click "save changes" again.
Synchronizing your Eventbrite events with Pie Calendar Connector
- With your private token saved and organization selected, you should now see some information regarding your Eventbrite event synchronization status.
- Click the "Synchronize Eventbrite Events" button to pull in all existing events from your Eventbrite organization.
- You should see the synchronization status update with the number of events that were synchronized.
Note: If something goes wrong, there is an option to delete all Eventbrite events from your local database. They can be re-synchronized later, and this does not delete anything from your Eventbrite account.
Setting up your Eventbrite webhook
To ensure events on your WordPress site are updated when something changes in Eventbrite, you need to set up a webhook. This is optional, but encouraged to avoid having to manually re-synchronize events periodically.
- On Eventbrite, go to Account Settings -> Developer Links -> Webhooks.
- Click "Add Webhook."
- In the "Payload URL" field, put: https://{yoursite.com}/wp-json/piecal-connector/v1/webhook/update
- Important: Replace {yoursite.com} with the URL to your site, otherwise it will not work.
- For Actions, you can activate all actions, but this may result in a large number of calls to the endpoint on your site. The only actions accepted or required by the Pie Calendar Connector webhook endpoint are:
- event.created
- event.published
- event.unpublished
- event.updated
- Save the Webhook, then click "Test" and check the "Recent Requests" area for a request with a 200 status code. If you see a 400 or 403 status code, expand the request and look at the response body to identify why the call was rejected.
Now, any time an event is created, updated, published, or unpublished, its status will change on your WordPress site as well.
Note: Webhook updates are not instantaneous. It can take up to several minutes for Eventbrite to send the webhook call after an action is performed. To check if a call has been made, you can look at the request log for the webhook in Eventbrite's Webhooks area.
Enabling the Eventbrite source in your calendar
Now that everything is set up, you just need to enable the Eventbrite source for your calendar.
If using the Block, select the calendar Block and expand the "Event Sources" control panel. There, tick the "Eventbrite" box and you'll see your synchronized Eventbrite events in the calendar.
If using the shortcode, add the attribute sources="eventbrite" to show synchronized Eventbrite events. If you want to also show other sources, include them in the sources attribute value, e.g. sources="native, eventbrite" .
Other Configuration Options
Pie Calendar Connector offers a few other important configurations and optional settings as well.
Embedded Checkout
Under Settings > Pie Calendar Connector in the WordPress admin panel, you'll find the Embedded Checkout option. Enabling this option means that visitors can complete their checkout for ticketed Eventbrite events without ever leaving your site.
If this option is enabled, you'll also see a Checkout Success Redirect URL field where you can specify a target for the visitor to be redirected to when the embedded checkout process is complete.
Note: Eventbrite's embedded checkout is an iframe, so styling and accessibility options are limited. If your website requires strict accessibility compliance, we recommend not enabling this feature.
Synchronization Status
Under Settings > Pie Calendar Connector, under the Eventbrite tab, you'll find helpful information indicating the synchronization status of your Eventbrite events.

Synchronized Events tells you the total number of events that have been pulled from Eventbrite via the API.
Last Synchronization tells you the last time that information was pulled from Eventbrite via normal synchronization functions, e.g. clicking "Synchronize Eventbrite Events" manually.
Last Eventbrite Update Stored tells you the last time an event was updated from Eventbrite.
Last Webhook Event Update tells you the last time a webhook triggered an update from Eventbrite on your WordPress site.
Lastly, Synchronize Eventbrite Events allows you to perform a new synchronization request. This is helpful if webhooks are not triggering automatic updates due to some error on your server or on Eventbrite.
Deleting Synchronized Events
Since Eventbrite events synchronized via Pie Calendar Connector are stored in your database, we also offer a way to delete them. This can be helpful if you synchronized some events you no longer want, or if you want to start over and pull fresh data from Eventbrite.
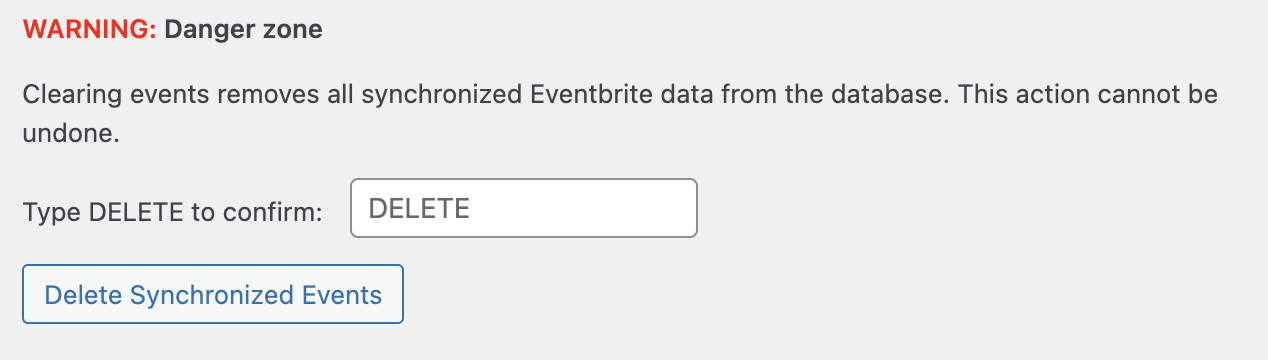
Please note that this action is irreversible and if you no longer have access to the Eventbrite API, you will not be able to re-synchronize your events.